Kia Picanto (JA): Intake And Exhaust System / Muffler
Components and components location
| Components |
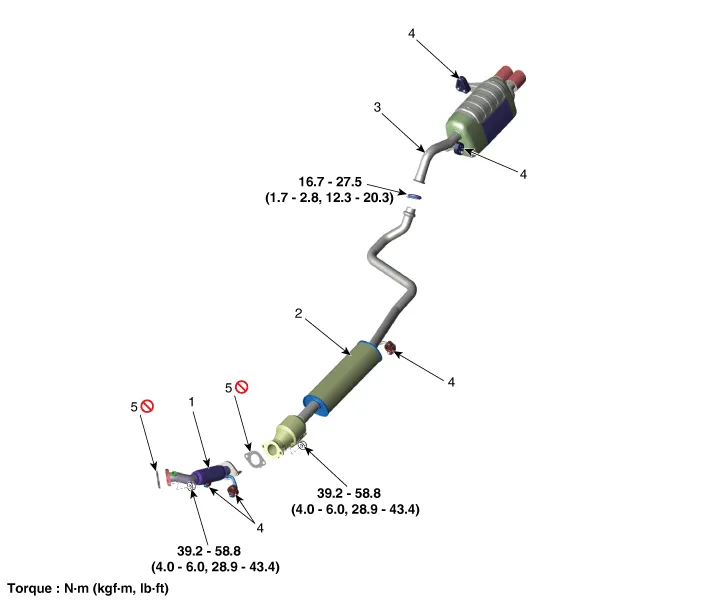
| 1. Front muffler 2. Catalytic converter & Center muffler assembly 3. Rear muffler | 4. Rubber hanger 5. Gasket |
Repair procedures
| Removal and Installation |
| 1. | Disconnect the negative battery terminal. |
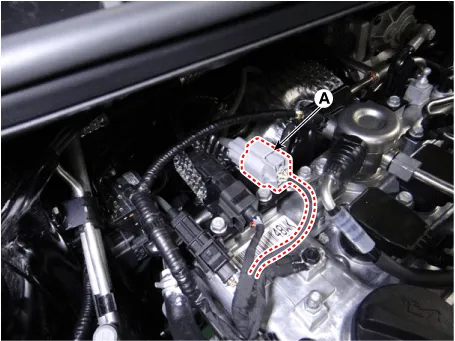
| 2. | Disconnect the heated oxygen sensor connector (A) and then remove them from the bracket.
|
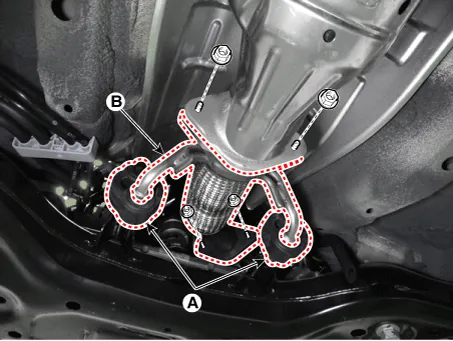
| 3. | Detach the rubber hanger (A) from the front muffler. |
| 4. | Remove the front muffler (B).
|
| 5. | Install in the reveres order of removal.
|
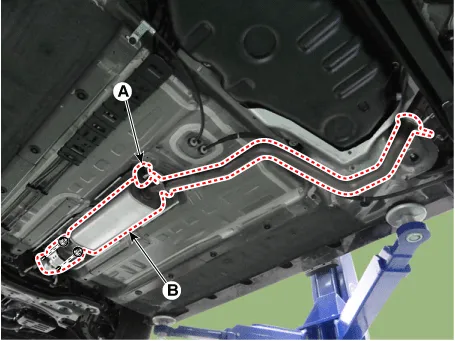
| 1. | Detach the rubber hanger (A) from the catalytic converter & center muffler assembly. |
| 2. | Remove the catalytic converter & center muffler assembly (B).
|
| 3. | Install in the reveres order of removal.
|
| 1. | Detach the rubber hanger (A) from the rear muffler. |
| 2. | Remove the rear muffler (B).
|
| 3. | Install in the reveres order of removal.
|
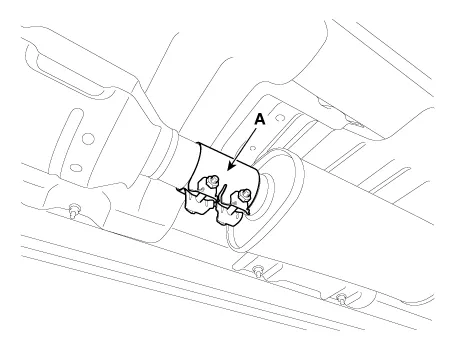
| 1. | Check if the clamping part of the center muffler assembly is damaged or deformed. If the muffler is excessively corroded to clamp, replace the center muffler assembly.
|
| 2. | Record the gap (A, B) between the tail pipe and the rear bumper.
|
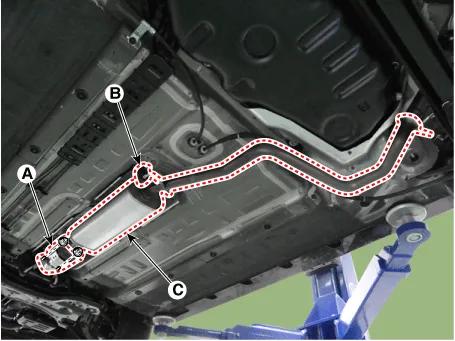
| 3. | Detach the rubber hanger (A) from the center muffler. |
| 4. | Remove the catalytic converter & center muffler (B).
|
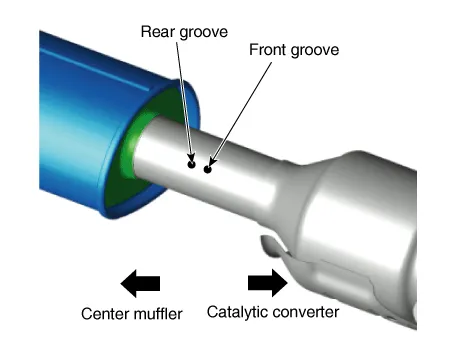
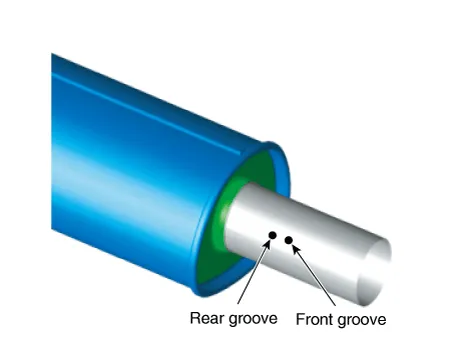
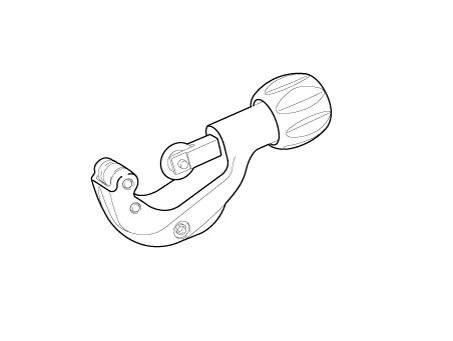
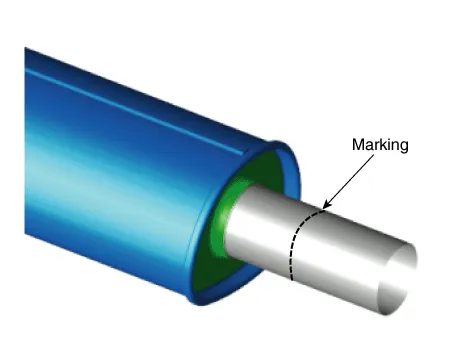
| 5. | Cut the center muffler as instructed below. - Cut the front groove of the muffler.
[Replacement muffler] -Cut the rear groove on the replacement muffler.
|
| 6. | Install the center muffler.
|
Components and components location Components 1. Intercooler air guard 2. Intercooler 3. Recirculation valve (RCV) control solenoid valve & vacuum hose 4.
Other information:
Kia Picanto (JA) 2017-2026 Service & Repair Manual: AVN Remote Controller
Components and components location Components 1. Left Remote Control Switch (Audio + Hands free + Voice) 2. Right Remote Control Switch (Cruise+Trip Computer) Schematic diagrams Circuit Diagram [Audio] [Audio + Bluetooth] [Audio + Bluetooth + Voice] [Trip (2 Button) + SEG LCD Cluster]
Kia Picanto (JA) 2017-2026 Service & Repair Manual: Back View Camera System
Components and components location Component Location 1. Back view camera 2. AVN head unit 3. steering angle sensor Description and operation Description 1. To display back of the vehicle to assist the driver, it receives vehicle rearside image signal from the rearview camera and displays it on AVN head unit monitor
Categories
- Manuals Home
- Kia Picanto Owners Manual
- Kia Picanto Service Manual
- Fuel Delivery System
- Engine Electrical System
- AVN(Audio Video Navigation) head unit
- New on site
- Most important about car

